Best Goat Fencing Kits in 2025 : 7 Reliable Options for Any Yard
Why goat fencing kits matter (and what to expect)
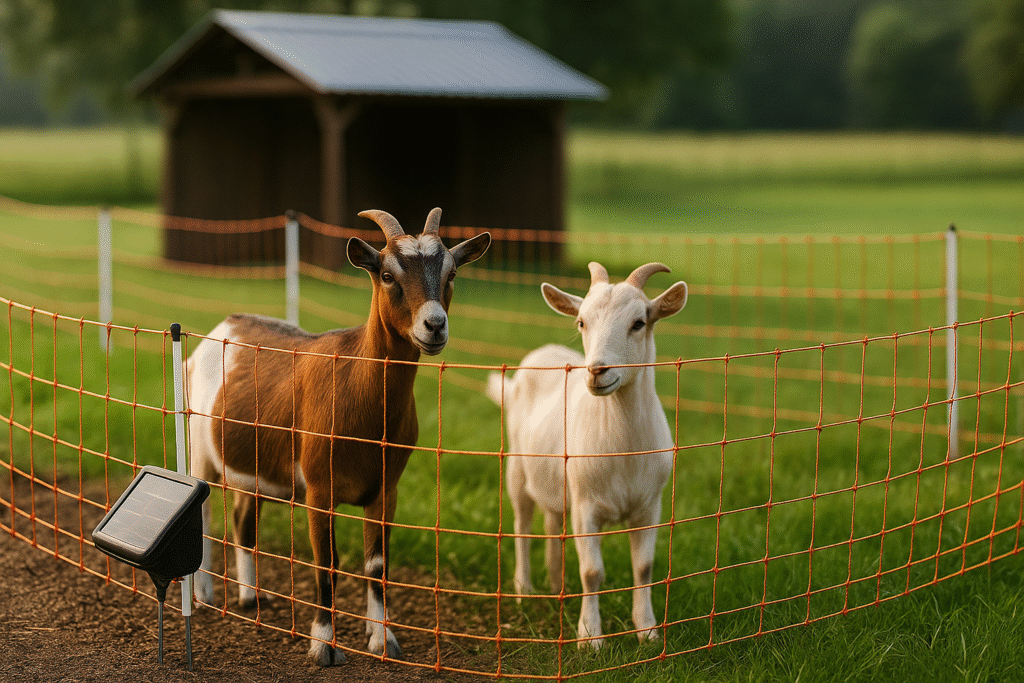
Goats are sweet, clever, and extremely curious. A good goat fencing kit turns that curiosity into a calm routine: it keeps your goats safely inside the boundary, discourages predators and pets from the outside, and lets you set up fast without sourcing every part separately. Whether you’re rotating pasture on a rural block or shaping a quiet urban run around sheds and garden beds, the right kit means fewer escapes, fewer worries, and shorter chores.
(Affiliate disclosure: If you buy through our links, we may earn a commission at no extra cost to you.)
What to look for:
- Height & density. Taller nets (often 42–48″) and tight mesh reduce jumping and head-through moments.
- Power. A matched energizer with solid grounding keeps voltage consistent; net-only kits need a charger added.
- Ease of use. Built-in posts, double spikes, sensible gate points, and clear instructions = quick setup.
- Value. Look for bundles that include the essentials you’d otherwise buy anyway (grounding, leads, testers).
- Support. Brands with spares and decent documentation save hours over the fence’s lifetime.
The Top 7 Picks
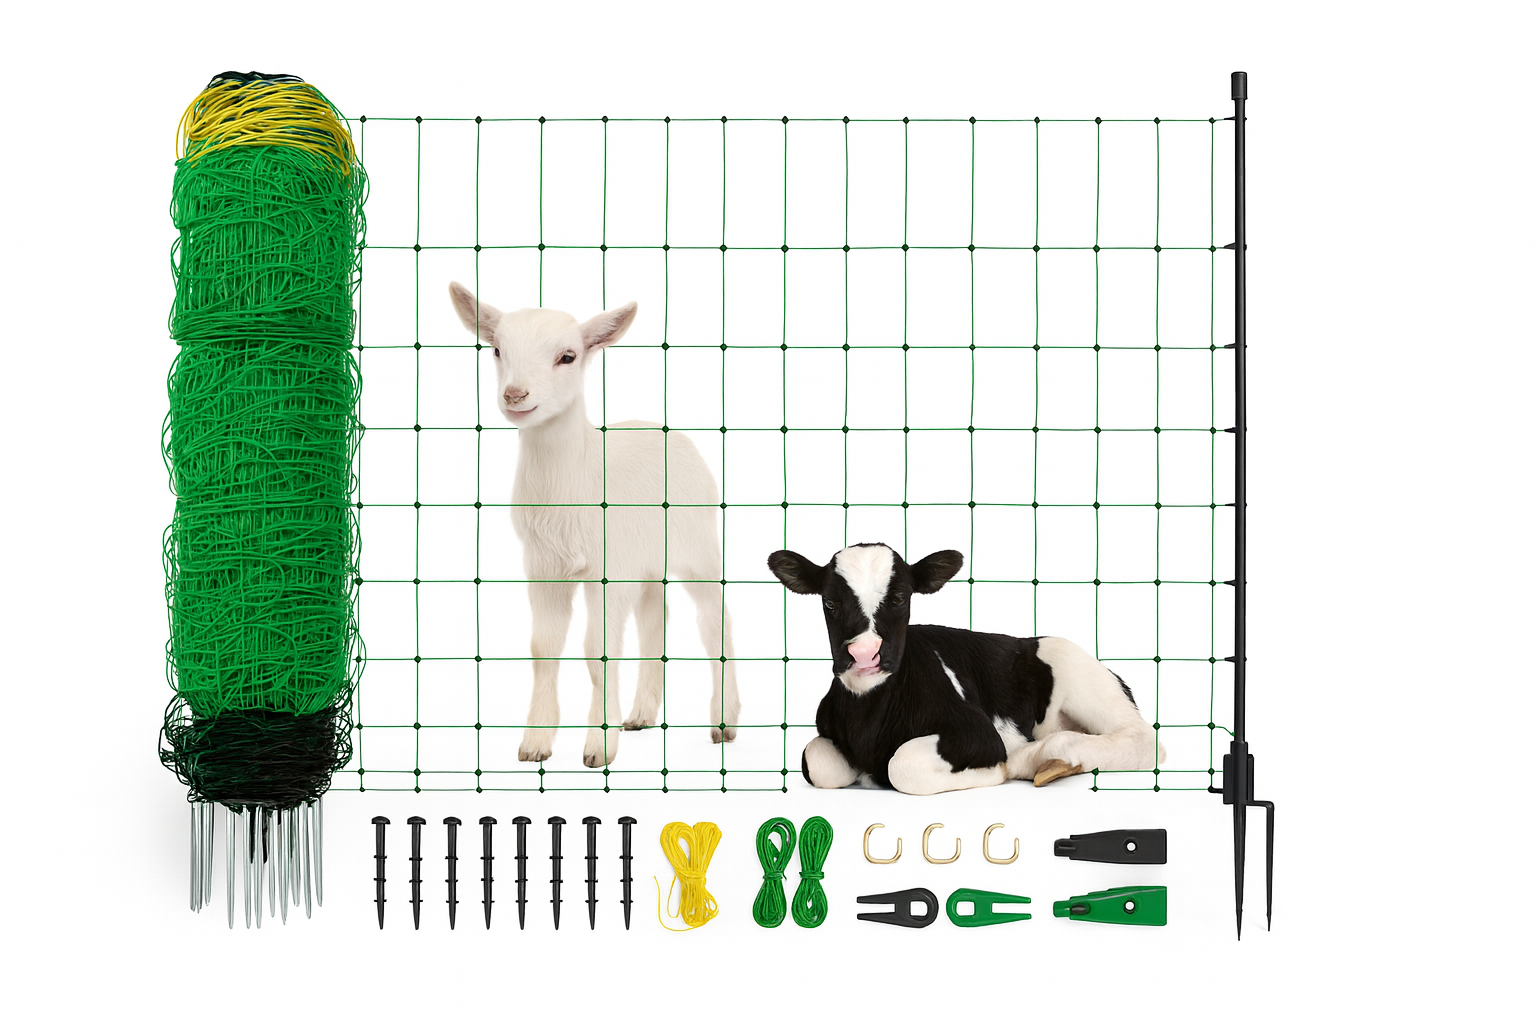
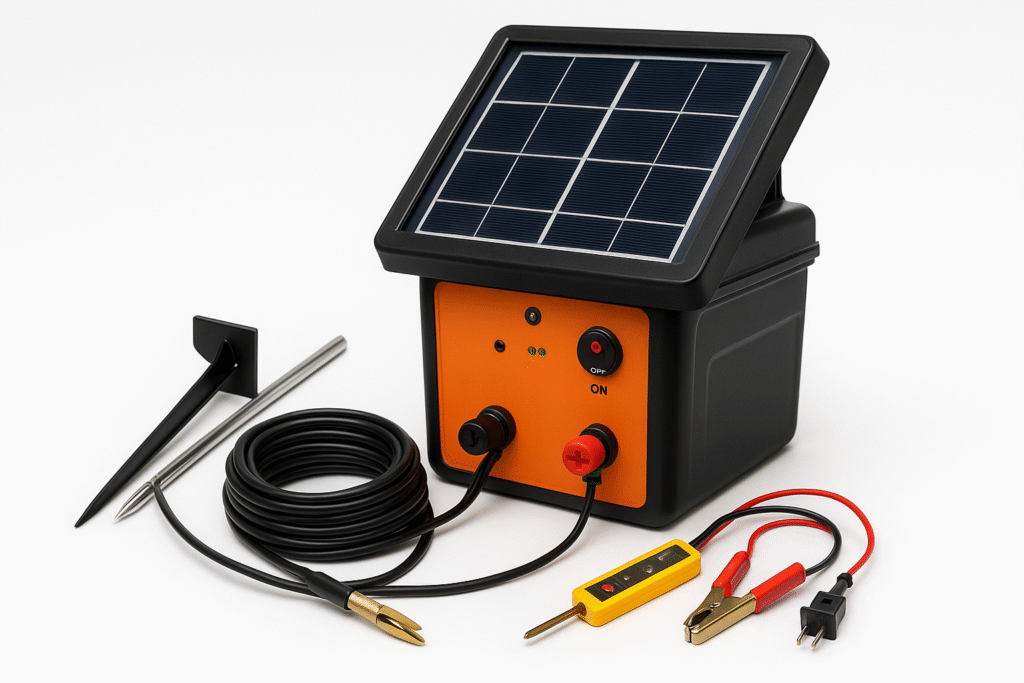
Pick #1 — All-around starter you can expand

- Great for first setups where you want a fast, reliable start.
- Check if your chosen variant includes a solar or plug-in energizer; if it’s net-only, see the power tips below.
- Works in both urban (quiet runs around gardens) and rural (rotational paddocks) with minimal fuss.
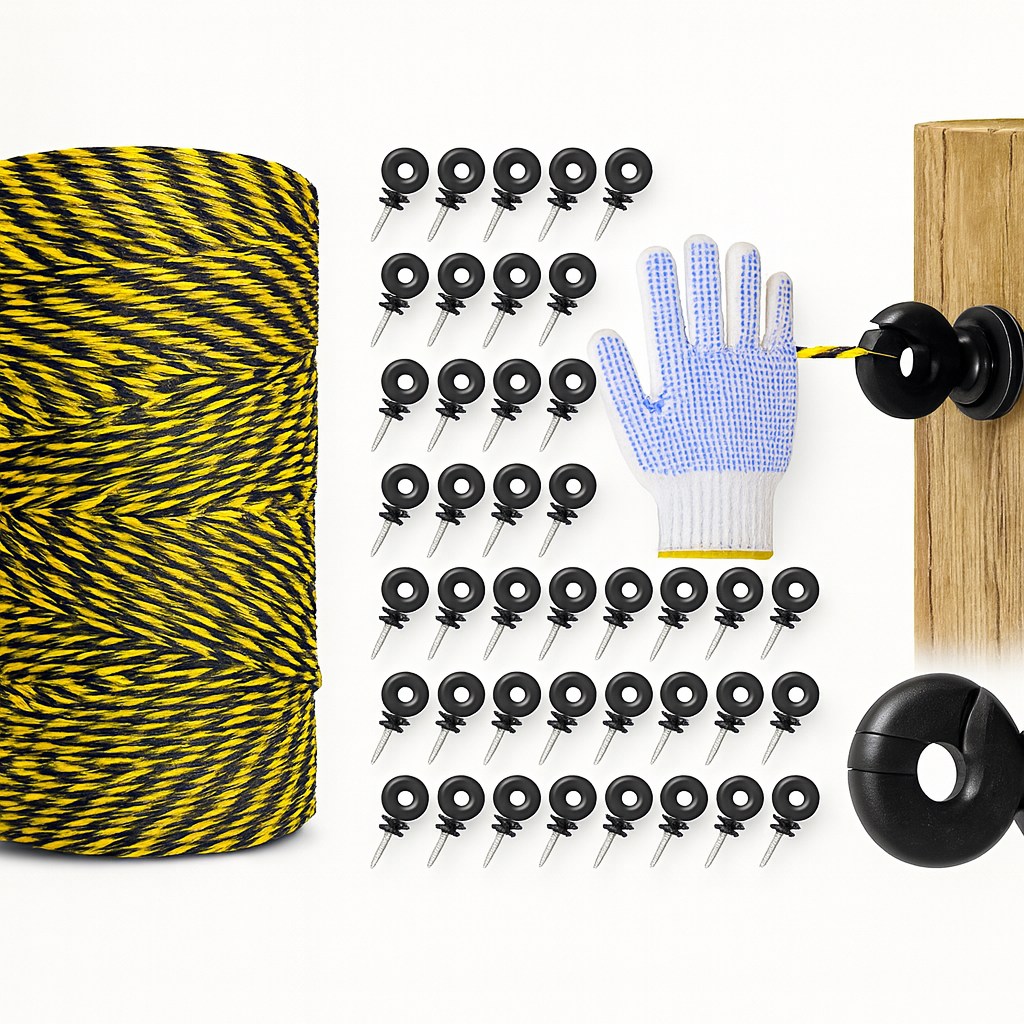
Pick #2 — Portable netting for quick rotations
- Good choice if you’ll move fence lines often.
- Look for double-spike posts for stability on corners and curves.
- Trim vegetation along the net to keep voltage strong.
Pick #3 — Value-minded bundle
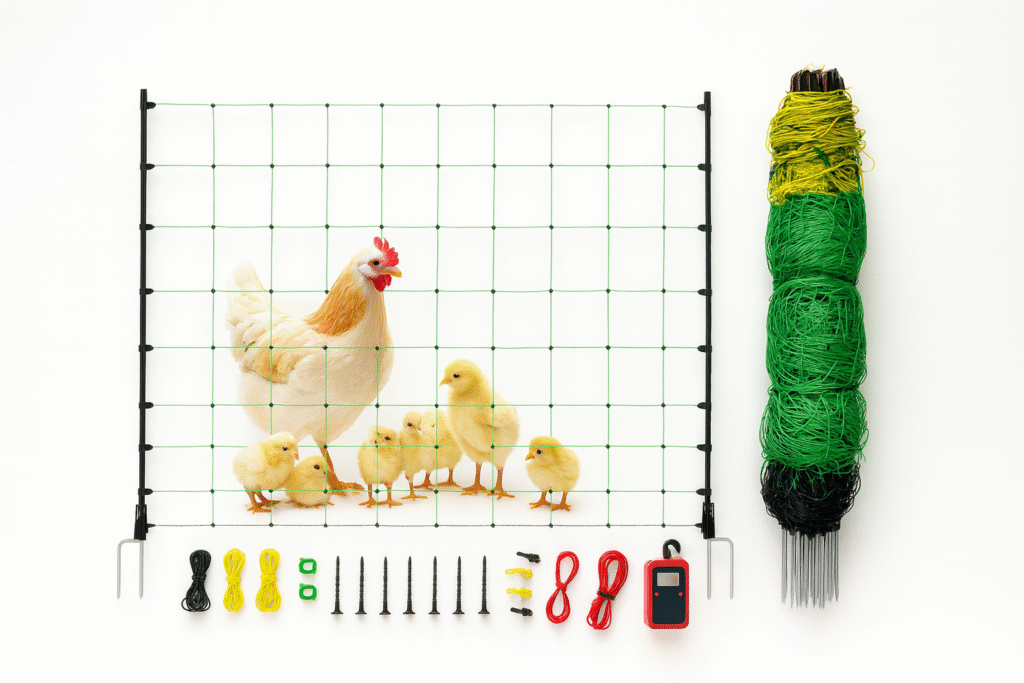
- A smart balance of price and parts for small herds.
- If an energizer is included, it’s typically sized for a single roll in clean conditions.
- Add a fence tester (if not bundled) so you can diagnose shorts quickly.
Pick #4 — Long single-run option
- Ideal if one long loop neatly contains your yard or paddock.
- Consider a slightly higher-joule charger for long lines or weedy edges.
- Leave a tidy gate point near your power unit.
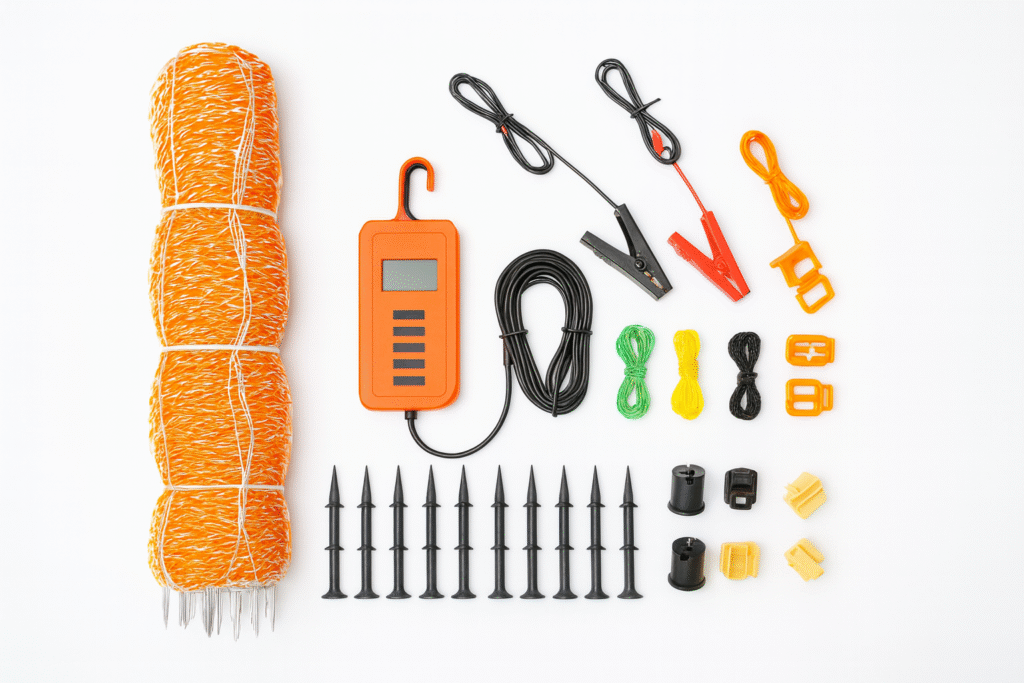
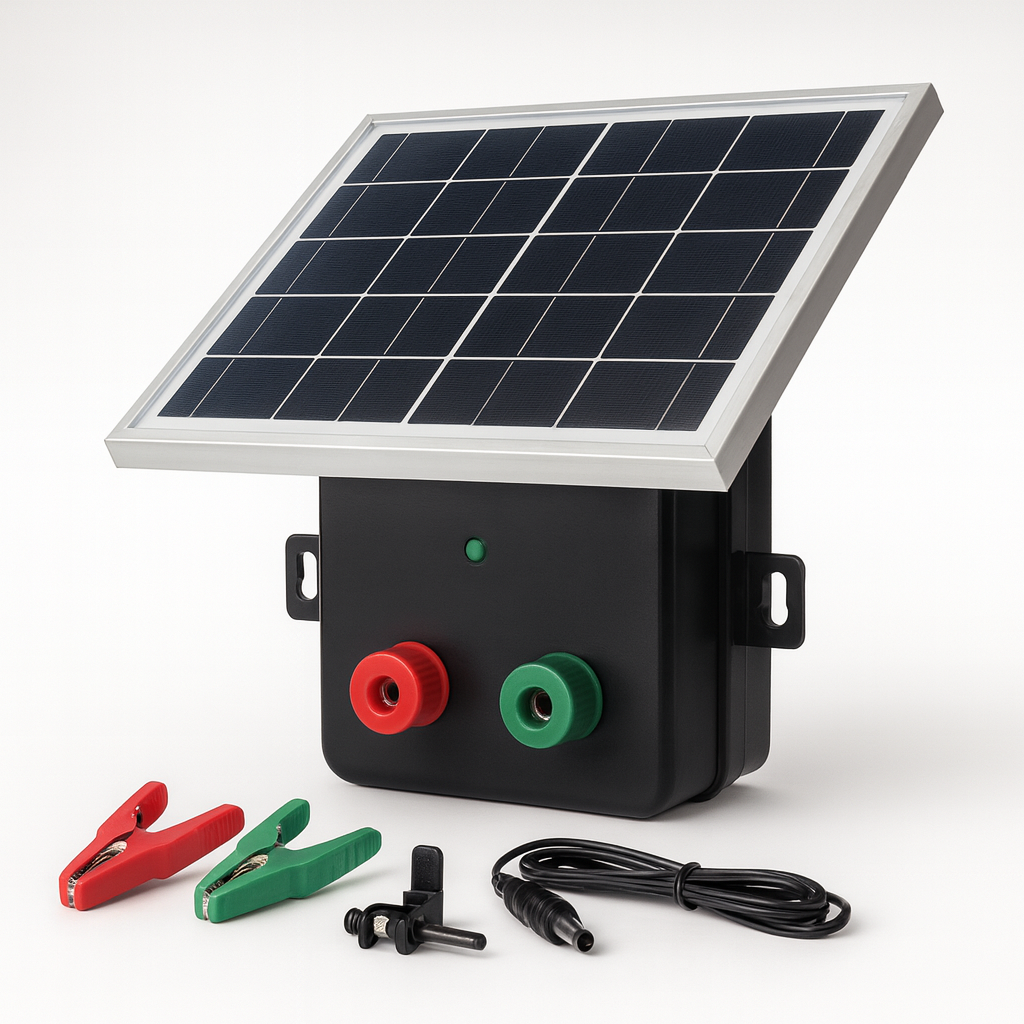
Pick #5 — Budget net-only (DIY your power)
- Net-only kits are perfect if you already own a charger or want to choose your own.
- Pair with a solar unit for off-grid convenience or AC for maximum punch.
- Drive ground rods fully and test for ≥4–5 kV at the far end.
Pick #6 — Pro-feeling, frequent-move setup
- Built for people who move fence weekly (or more).
- Braided conductors and quality posts help lines stay hot and tidy.
- In dry soils, consider extra ground rods or pos/neg configurations.
Pick #7 — Tall, predator-smart choice
- If predators or jumpy goats keep you up at night, taller netting is worth it.
- Match with a charger that can carry power the full length.
- Add a low offset hot wire outside perimeters in rural areas when feasible.
Quick comparison (at a glance)
| Pick | What it’s best for | Power included?* | Notes |
| #1 | Balanced “starter” that scales | Varies by listing | Good first fence; easy to expand |
| #2 | Portable rotations | Varies | Double-spike posts help stability |
| #3 | Value bundle | Often | Great for small herds/backyards |
| #4 | Long single run | Varies | Consider higher-joule charger |
| #5 | Budget net-only | No | Bring your own energizer/grounding |
| #6 | Pro-feeling frequent moves | Varies | Keep vegetation off the mesh |
| #7 | Tall, predator-aware setup | Varies | Match with stronger charger |
*Always check the specific listing/variant. Some sell net-only, others include solar/plug-in chargers and accessories.
Urban vs. rural: how to pick the right kit
Small urban/suburban yard
- Choose a kit that shapes easily around sheds and garden beds (Picks #1–#3 shine here).
- Keep the fenceline trimmed so voltage stays strong.
- Use two-step latches on gates to discourage raccoons and curious dogs.
Larger rural block
- Plan for growth: more nets, more joules, better grounding (Picks #4, #6, #7 often fit).
- If predators visit, favor taller netting and consider a low outside hot wire near the base.
- Put water and minerals near the gate on rubber mats to save steps and reduce mud.
How to install a goat fencing kit (10 steps)
- Walk your line. Choose a rectangle or gentle arc with minimal dips.
- Trim the route. Tall grass steals voltage; mow or string-trim before you lay the net.
- Lay out the roll. Start at a gate point near the energizer.
- Set corners first. Push corner/end posts deep; add extra supports on curves.
- Mount the charger. Solar faces sun; AC/battery stays dry and off the ground.
- Ground it right. Drive ground rods fully; space multiples ~3 m / 10 ft apart.
- Clip in cleanly. Use insulated leads; avoid sharp bends and metal contact.
- Test voltage. Aim for ≥4–5 kV at the far end (buy a tester if not included).
- Train the herd. Supervise the first hour; keep hay inside the paddock.
- Daily 30-sec check. Scan for sag, shorts, bowls touching the mesh, and grass wicking power.
Power tips (whether your kit includes a charger or not)
- One clean roll: ~0.5–1.0+ joule is comfortable.
- Multiple nets / heavy weeds / dry soil: think 2–6 joules and excellent grounding.
- Voltage rules: ≥4–5 kV deters leaning and testing.
- Weeds steal power: Trim monthly (weekly in fast-growing seasons).
Troubleshooting quick wins
- Fence is weak? Check the ground first. Dry soil often needs more/longer ground rods.
- Net sags on curves? Add a couple of support posts on bends.
- Goats still test the line? Clear vegetation, confirm ≥4–5 kV, and consider taller net in busy areas.
- Random beeps at night? Secure gate handles and keep water tubs away from the mesh.
Final thoughts
The best goat fencing kits do three things well: they set up quickly, hold voltage consistently, and adapt as your goats (and your plans) evolve. Use the seven picks above as a practical menu: choose the one that matches your space, power access, and how often you’ll move the fence. Start strong, test often, keep the line clean—and enjoy the day you realize the grass is finally greener inside the fence.